Replacing a Tesla front bumper starts with disconnecting the 12V battery and jacking up the vehicle for clearance. The process involves removing foam, knee supports, fan control modules, hood latch actuators, and headlamp carriers using specific torque specifications. Critical steps include handling electrical wiring harnesses carefully, reinstalling crash structure bolts in a star pattern at 60 Nm, and reconnecting components with proper alignment. Post-installation requires battery reconnection, sensor calibration, and software resets. The complete procedure demands patience and precision to avoid expensive mistakes.
Why would anyone tackle replacing a Tesla front bumper themselves? Maybe they’re tired of waiting months for service appointments. Or perhaps they just can’t stomach paying dealership labor rates. Whatever the reason, it’s definitely doable with the right preparation.
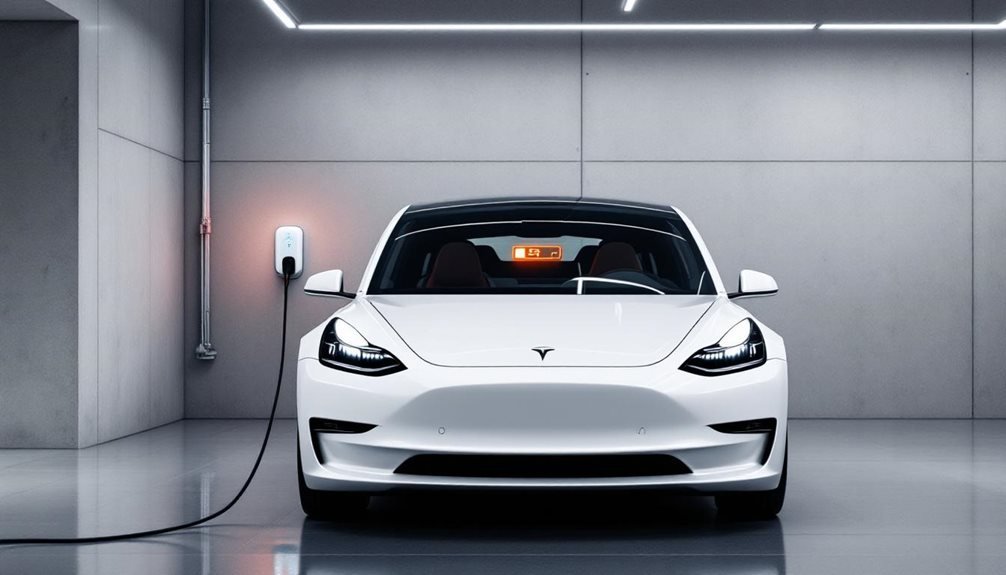
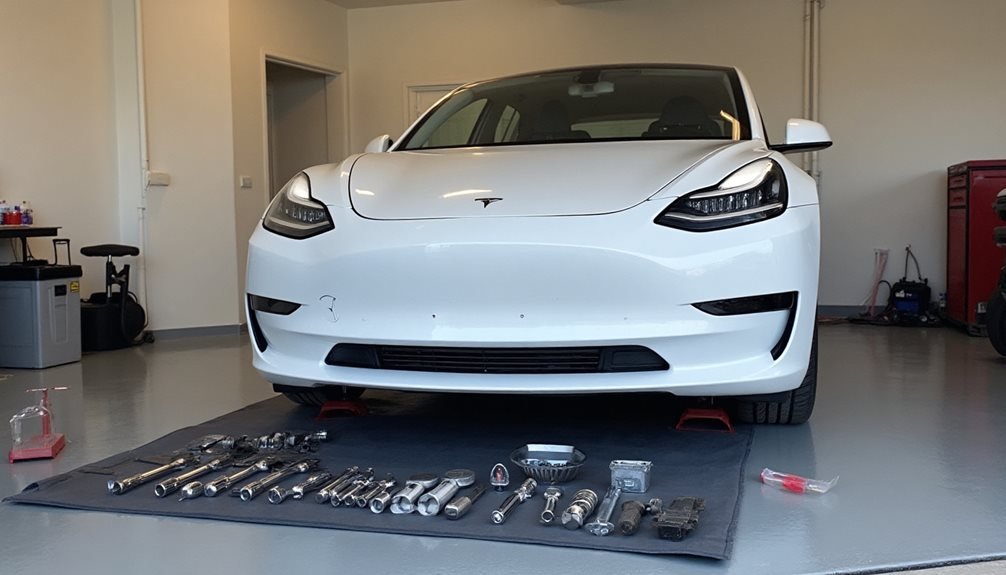
First things first – disconnect that 12V battery. Those sensors and cameras don’t need to be watching while someone pokes around the front end. Jack stands become essential when extra clearance is needed. Nobody wants a Tesla falling on them. That would be an expensive obituary.
Damage assessment comes next. Check for cracks and structural issues to determine if replacement beats repair. Compare OEM versus aftermarket parts because Tesla prices can be, well, Tesla prices. Document the pre-removal alignment unless someone enjoys playing guessing games during reinstallation.
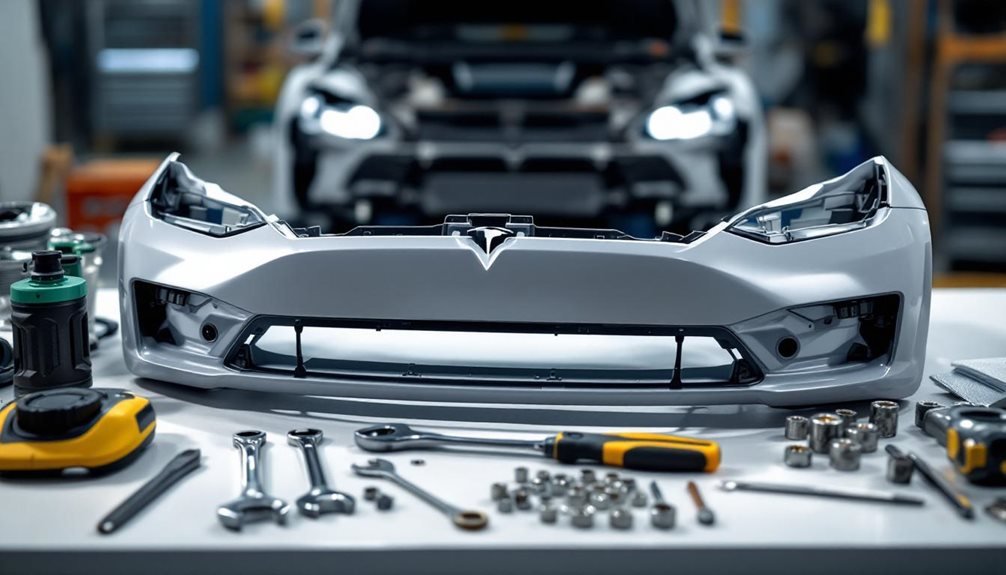
The tool list reads like a mechanic’s Christmas wish list. Socket wrench sets, plastic pry tools, screwdrivers, and a torque wrench top the requirements. That torque wrench isn’t optional – structural integrity depends on precise bolt tightening. Replacement clips, screws, and microfiber cloths round out the shopping list. Work gloves provide essential hand protection when handling sharp metal edges and removing damaged components.
Removal starts with detaching foam and knee support using three plastic rivets. Fan control modules get disconnected by unbolting from chassis rails. The hood latch actuator requires removing three bolts at 10 Nm torque.
Headlamp carriers release with two bolts per side at 7 Nm. Active louvers, if equipped, demand manufacturer-specific techniques. Component handling requires patience. Horn brackets secure with four bolts per side. Sub-cool condenser clamps use four screws at 3 Nm torque. Electrical harnesses need protection during disconnection. Label everything unless photographic memory is a superpower.
Installation reverses the process with critical attention to alignment. Crash structure bolts get tightened in star pattern at 60 Nm. Fan control modules reconnect at 8 Nm torque. Hood latch actuator reinstalls at 10 Nm. These repairs can be done by owners to avoid costly service center replacements, especially once warranty has expired.
Post-installation demands thorough testing. Reconnect the battery and verify electrical systems function properly. Check paint alignment and address gaps immediately. Reset vehicle software if necessary using Tesla diagnostics tools. Document everything for warranty records. Professional installations typically include sensor calibration to ensure Autopilot features function accurately after replacement.
Road-test the vehicle because nobody wants surprises at highway speeds. The entire process proves that Tesla ownership sometimes means becoming part-time mechanic.
Frequently Asked Questions
How Much Does a Tesla Front Bumper Replacement Typically Cost?
Tesla front bumper replacement typically runs $1,200-$2,500 total.
The bumper itself costs $500-$1,200, depending on the model year.
Labor adds another $500-$3,000 since shops charge $100-$300 per hour for 5-10 hours of work.
Then there’s painting ($200-$500), sensor recalibration ($200-$400), and potential alignment fees.
Used parts can cut costs by 30-50%, but you’re still looking at serious money.
Will Replacing the Front Bumper Void My Tesla Warranty?
Replacing a Tesla front bumper won’t automatically void the warranty, thanks to federal Magnuson-Moss Act protections. Tesla can’t do blanket denials just because someone installed aftermarket parts.
However, if that new bumper causes actual damage to covered components, warranty claims get messy fast.
Poor installation or defective parts that mess with sensors, software, or safety systems? That’s different territory entirely.
How Long Does a Professional Tesla Bumper Replacement Usually Take?
Professional Tesla bumper replacement typically takes 1-3 hours for straightforward jobs.
Complex cases with sensors and LED lights? That’s 3-5 hours of thorough work.
Modern Teslas aren’t your grandpa’s Ford – ADAS sensors need precise calibration, which eats time.
Collision centers prioritize accuracy over speed, sometimes slowing things down.
Paint matching adds another 1-2 days.
Parts delays? Expect 1-3 days if components aren’t in stock.
Do I Need to Recalibrate Sensors After Replacing the Front Bumper?
Sensor recalibration depends on the Tesla model year. Older models with radar sensors absolutely need recalibration after bumper replacement.
The 2024+ Model 3 and Y? They ditched radar, so recalibration isn’t required.
Pre-2024 Model S and X still pack radar though.
Professional recalibration runs $100-200 at Tesla service centers.
Skipping this step basically turns expensive safety features into decorative paperweights. The car won’t magically know everything’s aligned properly.
Where Can I Buy Genuine Tesla Replacement Front Bumper Parts?
Tesla owners can buy genuine front bumper parts through three main channels. The official Tesla retail stores and online marketplace offer direct purchasing with expert consultation and professional installation options.
Tesla Service Centers maintain parts inventory and provide installation with sensor recalibration.
Tesla-approved body shops also stock genuine parts for collision repairs. Non-Tesla parts void warranties completely.